Sewer Lateral Testing for Older Homes Before Listing
Selling an older home? Learn when sewer lateral tests are required, how we test, what cleanouts are, typical costs, and how to avoid delays in your sale.
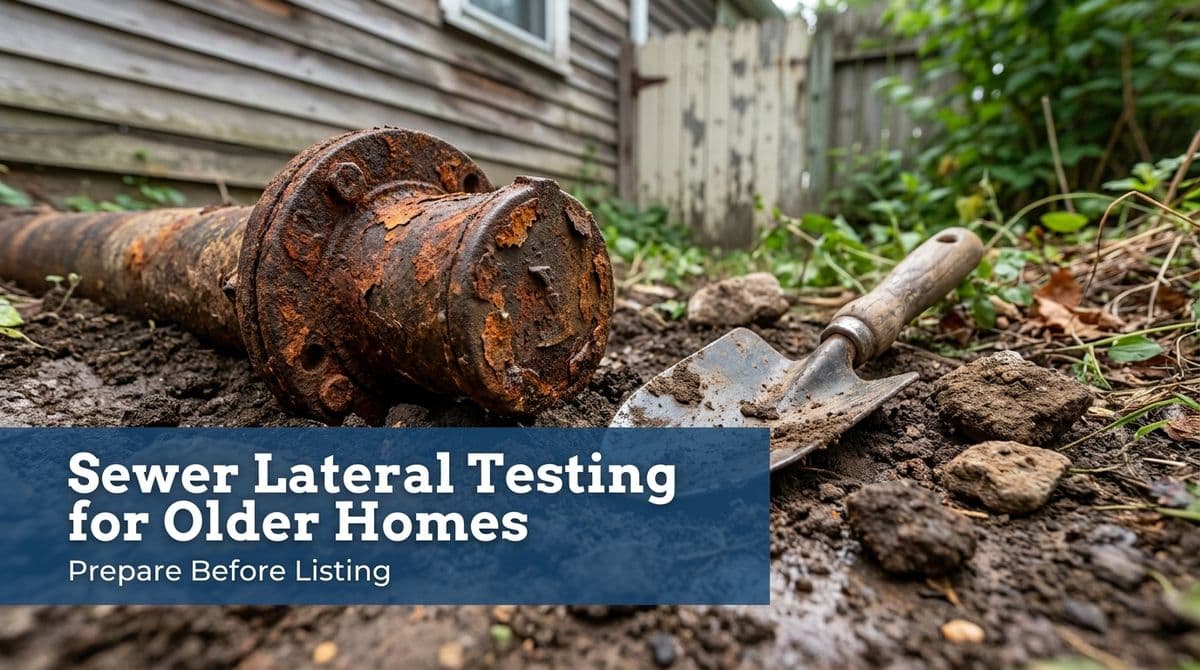
Getting an Older Home Ready for Sewer Lateral Testing
We recently got a call from a real estate agent — let’s call her Laura — who was getting ready to list an older home in a mountain neighborhood. The house hadn’t had a sewer lateral test in at least 30 years, and she wanted to get ahead of any surprises before it hit the market.
As we walked her through the process, we realized she was asking all the same questions we hear from homeowners and agents every week: When is sewer testing required? What exactly do we test? What if the cleanouts are buried? How much does all this cost, and how do we avoid delays in escrow?
In this post, we’ll share how we handle sewer lateral testing on older homes, using Laura’s call as a real-world example, and what we recommend homeowners do before they list their property.
When and Why Sewer Lateral Tests Are Required
In many areas, especially in older neighborhoods and resort communities, the local sewer district requires a sewer lateral test when a property is sold, remodeled, or when service is transferred. The goal is to make sure the private sewer line from the house to the main is watertight and not leaking into the ground.
When Laura called us, the home hadn’t been tested in roughly three decades. In cases like that, we know two things right away:
- The sewer district is likely to pay extra attention to the inspection.
- The chances that critical access points (cleanouts) are missing or buried are pretty high.
That’s why we now treat any property that hasn’t been tested in 15+ years as an “older” system that needs a bit more prep work. It protects the homeowner from last-minute surprises and helps us avoid frustrating re-scheduling with the sewer district.
What We Actually Test: Property Line and Foundation Cleanouts
When we talk about a sewer lateral test, we’re really talking about testing between two cleanouts:
- Foundation cleanout – This is usually near where the sewer line exits the house. It’s our access point closest to the structure.
- Property line cleanout – This is typically at or near the front property line, close to where your private line connects to the public main or shared system.
By code and by sewer district policy, these cleanouts are supposed to be exposed and brought up to grade so we can access them easily. The district we work with has always had this rule, but lately they’ve become very strict about enforcing it, especially because they’re short-staffed. When we show up for a scheduled test and those cleanouts are buried, the district isn’t happy — and the sale can be delayed.
Why Cleanouts Must Be Exposed (and What If They Aren’t?)
Here’s the key point we explained to Laura: If the property line and foundation cleanouts aren’t exposed, we technically can’t perform the test. We can’t just guess where the line is and dig random holes in the yard.
On older homes that haven’t been tested in decades, we often find that:
- Cleanouts are completely buried under landscaping, decks, or asphalt.
- One or both cleanouts were never installed when the home was built.
When that happens, our first step is usually to camera the line to locate the exact path and depth of the sewer. Once we know where everything is, we can give a clear estimate to install or raise cleanouts to grade so the home is testable.
How We Handle Pre-Inspections on Older Sewer Lines
Because of situations just like Laura’s, we’ve added a pre-inspection step for older or long-untested homes. If a sewer lateral hasn’t been tested in 15+ years, we strongly recommend — and in many cases require — a quick site check before we ever put you on the official test schedule with the sewer district.
Here’s how we structure it on our end:
- Pre-inspection visit – We stop by, usually when we’re already in the area, to verify whether the foundation and property line cleanouts are present and exposed.
- If the cleanouts are ready
- We move forward and schedule the official water or air test with the district.
- If the cleanouts are buried or missing
- We provide an estimate for camera work and any necessary digging/repairs so the line can be properly tested.
For Laura’s listing, we told her that even if she wanted to try to find the cleanouts herself, the odds were high that the line would still need to be camera’d, simply because of the home’s age and lack of prior testing.
Typical Costs: Test, Pre-Inspection, and Camera Work
Homeowners always want to know what to budget. While pricing varies by company and region, here’s how we typically structure our fees:
- Sewer lateral test – In our experience, a straightforward test (once the cleanouts are exposed and ready) runs around $375.
- Pre-inspection visit – We charge our standard hourly rate, which is often about $135 for this quick “checkout” visit.
- Camera inspection – If the line needs to be located or evaluated internally, camera work is generally similar to that hourly rate range, depending on how complex the job is.
From our perspective, when you’re selling a high-value property, a modest pre-inspection or camera fee is a small investment compared to the risk of derailing escrow because the sewer isn’t ready for testing when the buyer’s deadline hits.
How to Prepare an Older Home’s Sewer Line Before Listing
When we’re advising sellers and agents on older homes, we usually recommend this simple checklist:
- Check with your local sewer district. Confirm whether a sewer lateral test is required for sale and what their current policies are on cleanouts and scheduling.
- Get the sewer lateral map. Just like we did for Laura, we typically request the official sewer lateral map from the district. We then share it with the homeowner or agent so everyone knows roughly where the line and cleanouts should be.
- Look for obvious cleanouts. Walk the property and look for capped pipes near the foundation and at the street or property line. If they’re clearly visible and at grade, great — tell us what you found.
- If you can’t find them, don’t guess-dig. Random digging often creates more mess than progress. If cleanouts aren’t obvious, we strongly suggest letting us handle the location with a sewer camera.
- Schedule a pre-inspection early. Have us do a quick site check before the home hits the market or early in the listing period. That way, if there’s any excavation or repair needed, you can handle it before you’re under a tight escrow deadline.
A Smooth Sewer Test Means a Smoother Sale
In Laura’s case, we added her listing to our pre-inspection list, pulled the district’s sewer map, and coordinated a visit before the official test date. That way, she and her sellers knew exactly what they were dealing with and could avoid a last-minute scramble.
If you’re listing an older home and you’re not sure when the sewer lateral was last tested, we recommend reaching out early. We can review the age of the system, check local requirements, request maps, and build a plan that keeps your sale moving without sewer-related delays.
With a little preparation — and the right testing process — your sewer lateral can be one of the easiest parts of the transaction instead of the one that holds everything up.